Control Group
Control Groups allow you to bundle multiple controls into a single group and configure how the controls are executed.
Add
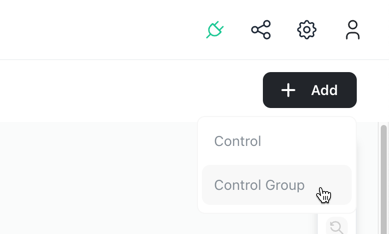
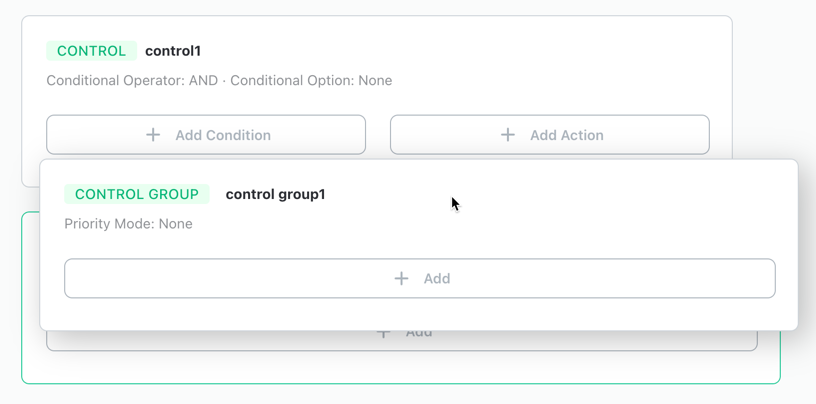
If there are no blocks added to the logic, click [+ Add] -> [Control Group] in the upper right corner to add a control group.
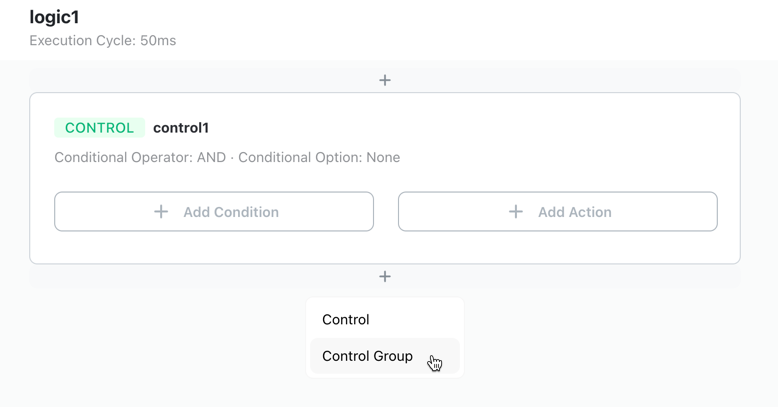
You can also add a control group by clicking the [+] button that appears above or below existing control or control group blocks when hovering over them.
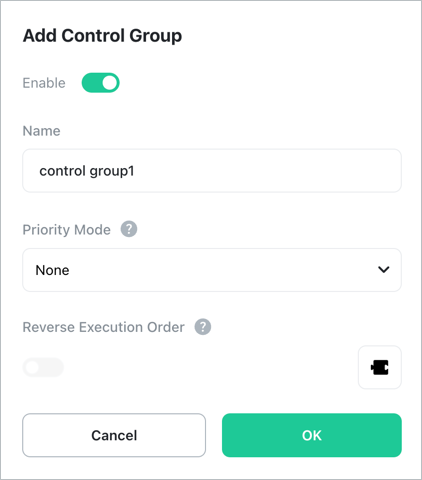
[Enable]
Sets whether to use the control group or not. Disabled control groups will not execute.

[Name]
Enter the display name (max 20 characters). Any name can be used.
[Priority Mode]
When multiple controls within a control group simultaneously satisfy their conditions, the method for determining which control to execute first is called [Priority Mode] and can be configured as follows:
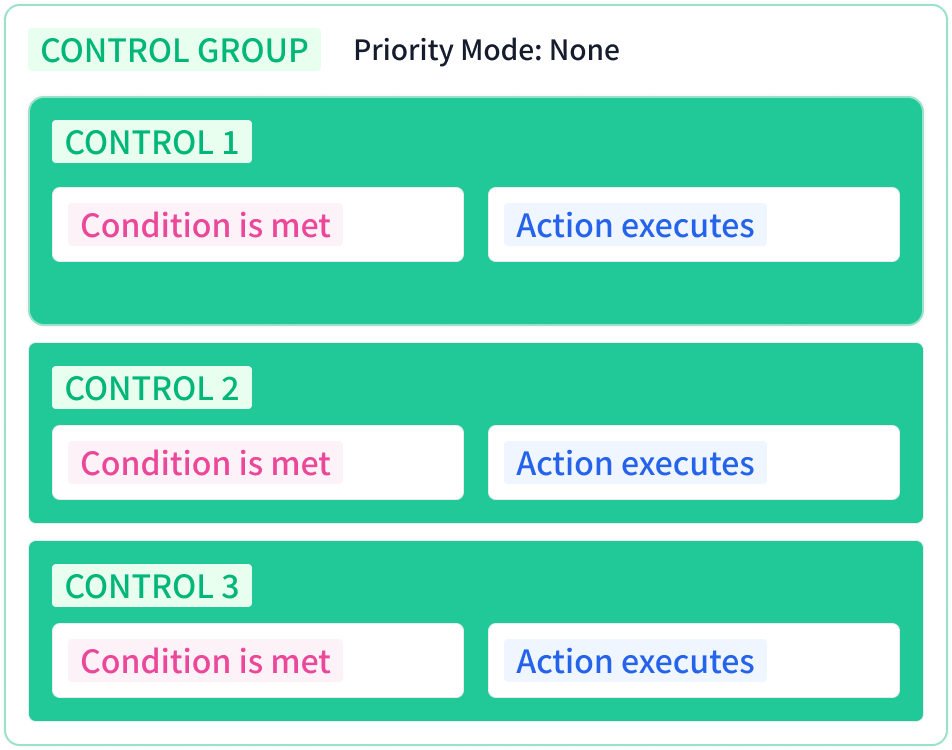
None
No priority mode is applied.
- Each control executes its action when its condition is met.
- Controls execute sequentially according to their order within the control group (executes in reverse order when reverse execution is applied).
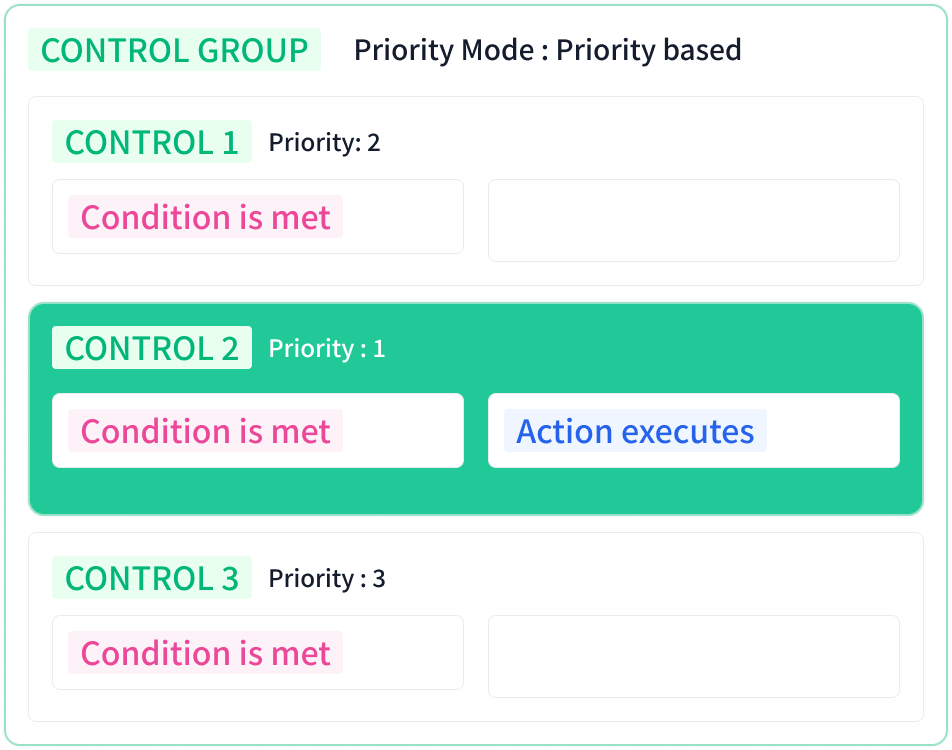
Priority Based
Among the controls in this control group that have their conditions met, only the one with the lowest priority number (highest priority) will execute.
- Lower numbers have higher priority (e.g., Priority 1 > Priority 2 > Priority 3).
- If a condition with higher priority than the currently executing control is met, the current control is immediately stopped and the higher priority control is executed.
- After the higher priority control’s action is completed, all conditions are checked again and the control with the highest priority at that time is executed.
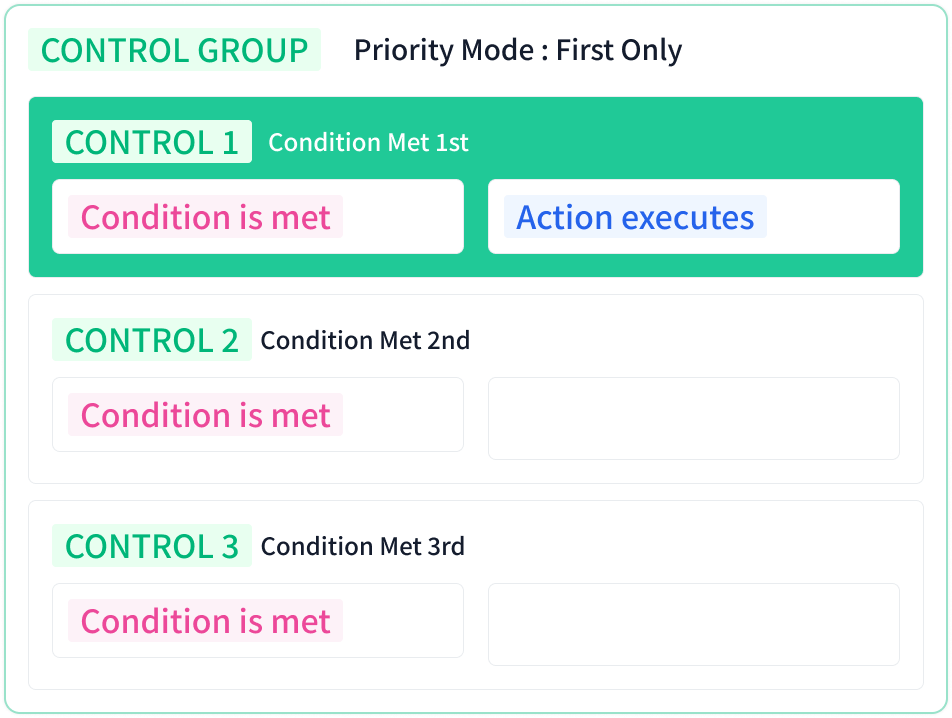
First Only
Among the controls in this control group, only the first one to have its condition met will execute.
- After the first executed control’s action is completed, if that condition is no longer met, the next control that met its condition is executed.
- The execution order is determined by the order in which conditions were met.
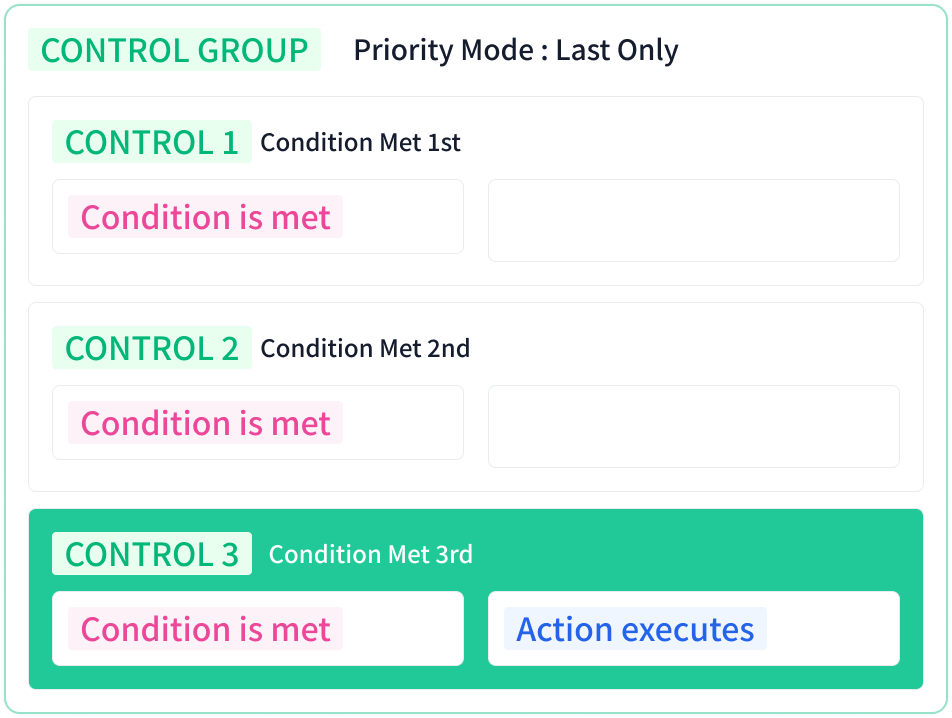
Last Only
Among the controls in this control group, only the last one to have its condition met will execute. Any previously executing control will be forcibly cancelled.
- After the last control’s action is completed, if that condition is no longer met, the control that previously met its condition is executed.
- The execution order is determined by the order in which conditions were met.
[Reverse Execution Order]
Sets the execution order of child blocks in reverse. If false, executes from top to bottom; if true, executes from bottom to top.

Move
Click and drag the control group to the desired position.
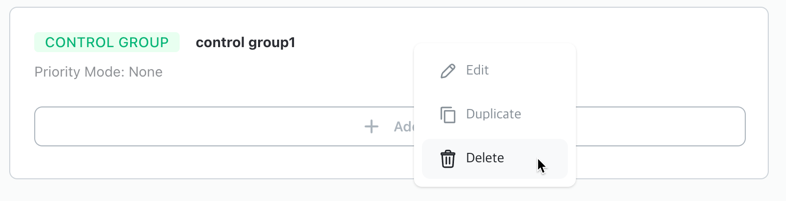
Edit
Right-click and select [Edit] from the context menu to edit the control group.
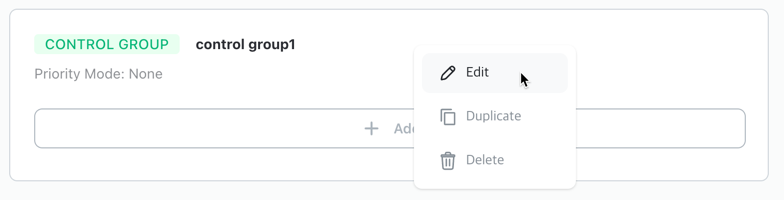
Duplicate
Right-click and select [Duplicate] from the context menu to duplicate the control group. The duplicated block is created at the end of the same level.

Delete
Right-click and select [Delete] from the context menu to delete the control group. All blocks contained in the control group will also be deleted. Note that deleted blocks cannot be recovered.