
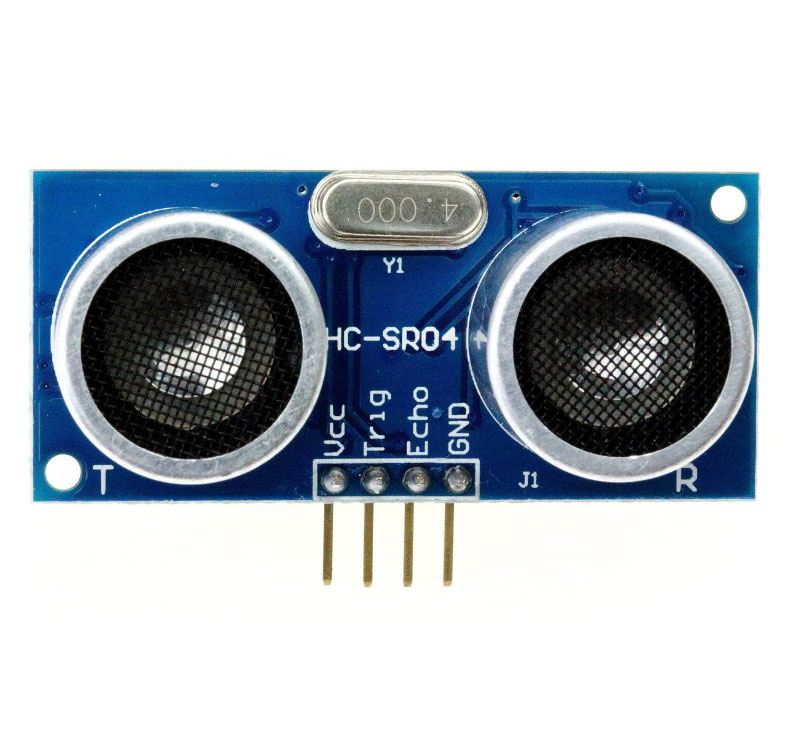
HC-SR04 Ultrasonic Distance Sensor
Overview
An ultrasonic distance sensor module consisting of a 40kHz ultrasonic transmitter (Trig) and receiver (Echo) that calculates distance based on the time it takes for transmitted ultrasonic waves to reflect off objects and return.
Specifications
- Power supply: 5V DC
- Quiescent current: <2mA
- Effectual angle: <15°
- Ranging distance: 2cm – 500 cm
- Resolution: 0.3 cm
Supported GPIO
- Raspberry Pi 0~4
- Raspberry Pi 5
- BeagleBone Black/Green
- Jetson Nano
Commands
[INIT]
Enters initial configuration settings.
| Item | Type | Description |
|---|---|---|
| Trig Pin | WRITE | Enter the GPIO pin number to connect to the transmitter (Trig) pin. |
| Echo Pin | WRITE | Enter the GPIO pin number to connect to the receiver (Echo) pin. |
| Maximum Distance (cm) | WRITE | Enter the maximum measurement distance of the module in centimeters. |
[READ_DIST]
Measures the distance to an object.
| Item | Type | Description |
|---|---|---|
| Distance (cm) | READ | Measured distance. |
[READ_DIST_TEMP]
Measures the distance to an object. By inputting the current temperature, you can obtain more accurate distance measurements that are temperature-compensated.
| Item | Type | Description |
|---|---|---|
| Current Temperature (℃) | WRITE | Enter the current temperature. |
| Distance (cm) | READ | Temperature-compensated measured distance. |
Example
Objective
Display the distance measured by the sensor on dashboard widgets.
Parts
| Part | Quantity |
|---|---|
| Raspberry Pi 4 * | 1 |
| HC-SR04 Ultrasonic Sensor | 1 |
| 1kΩ Resistor | 1 |
| 2kΩ Resistor | 1 |
| Passive Buzzer | 1 |
* Other hardware can also be used. Refer to Supported GPIO.
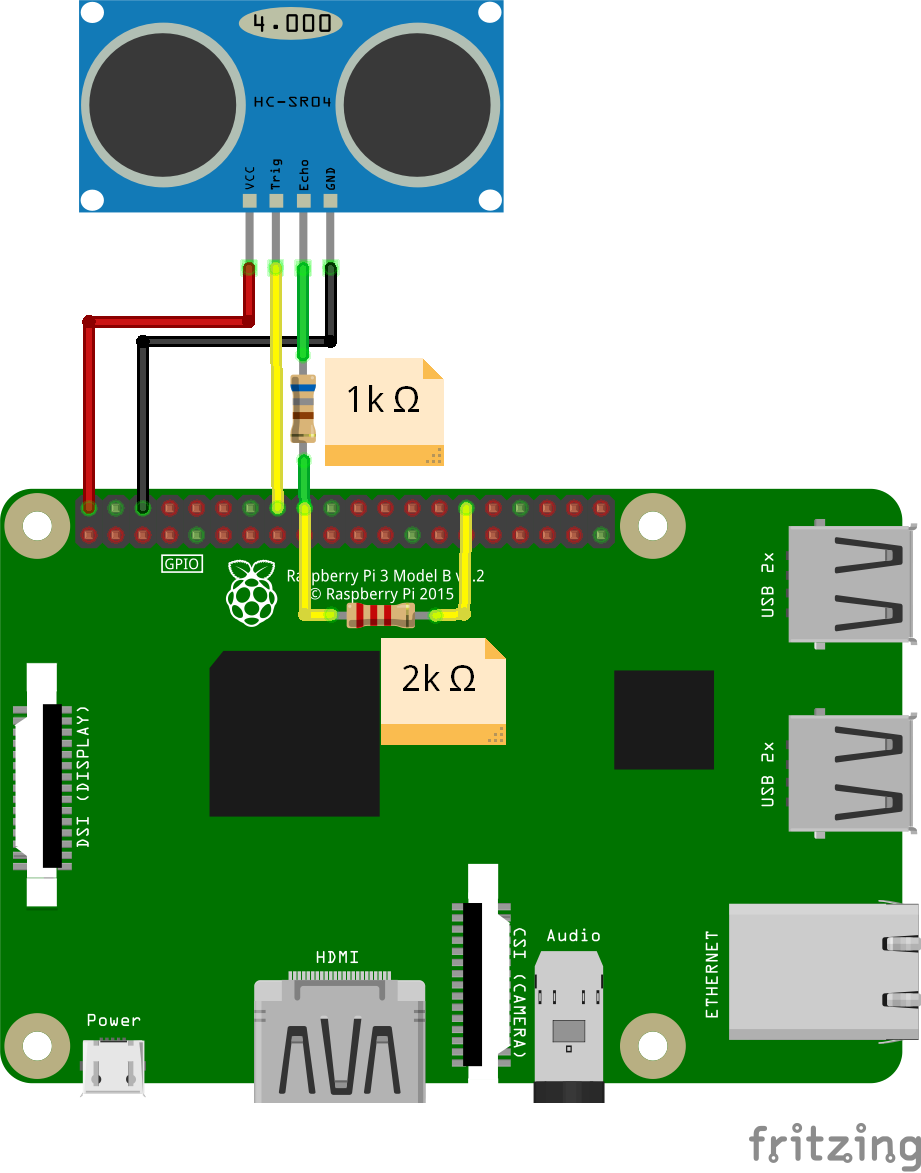
Wiring (HC-SR04)
Connect each component to the corresponding connection as listed in each row below.
| HC-SR04 | Component 1 | GPIO | Component 2 | GPIO |
|---|---|---|---|---|
| VCC | | 5V | | |
| Trig | | 23 * | | |
| Echo | 1kΩ Resistor ** | 24 * | 2kΩ Resistor ** | GND |
| GND | | GND | | |
* Any GPIO pins can be used.
** The Echo pin output of the HC-SR04 is 5V, so if the GPIO voltage level is 3.3V, connecting the Echo pin directly to GPIO can damage the GPIO. Therefore, the voltage must be reduced to 3.3V. This example uses a voltage divider.
Wiring (HC-SR04P)
Connect each component to the corresponding connection as listed in each row below.
| HC-SR04P | GPIO | GPIO |
|---|---|---|
| VCC | 3.3V * | |
| Trig | 23 | |
| Echo | 24 | GND |
| GND | GND | |
* The HC-SR04P model operates in the 3V~5V range, so resistor connections are unnecessary when VCC is connected to 3.3V.

Project Link
