Installing Operating System
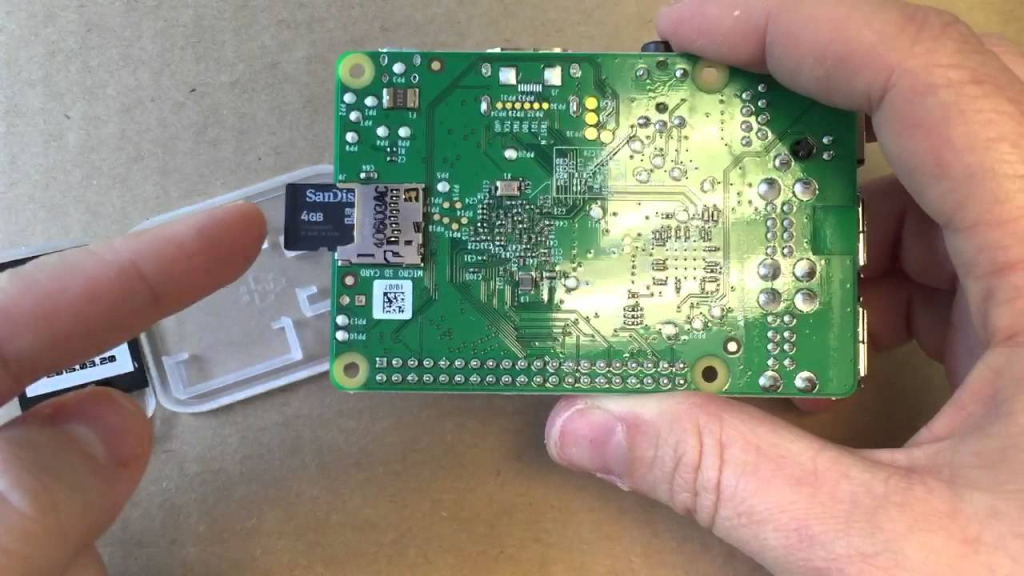
Insert the micro SD card into your PC. If you don’t have a micro SD slot, use a USB-SD card adapter.

Download and install Raspberry Pi Imager for your PC’s operating system from https://www.raspberrypi.com/software/.

Run Raspberry Pi Imager.
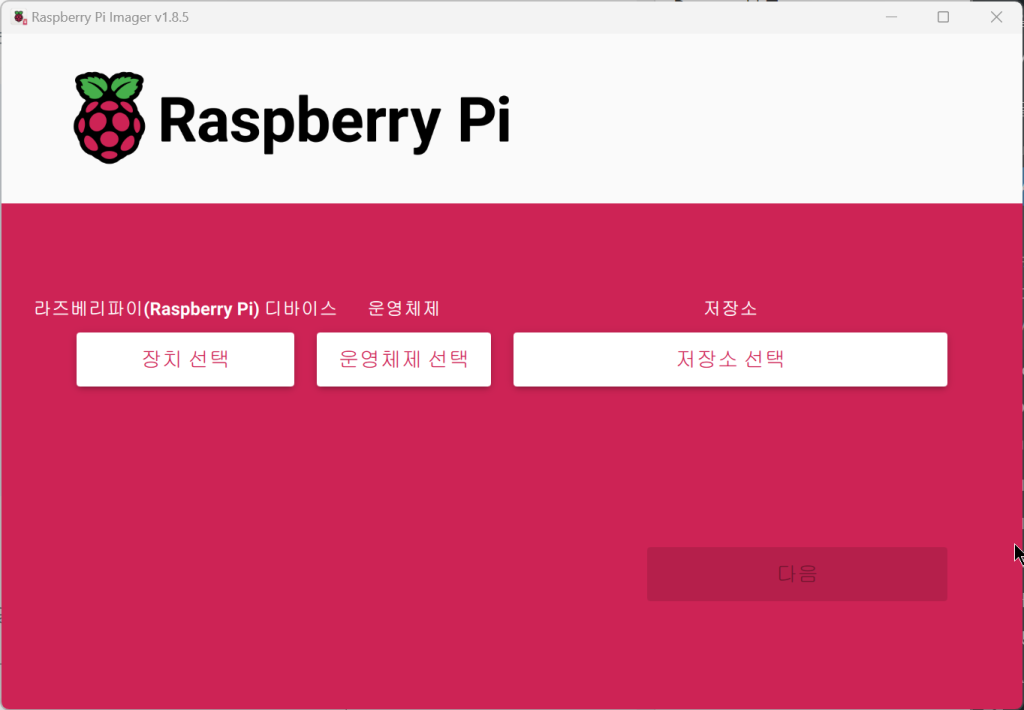
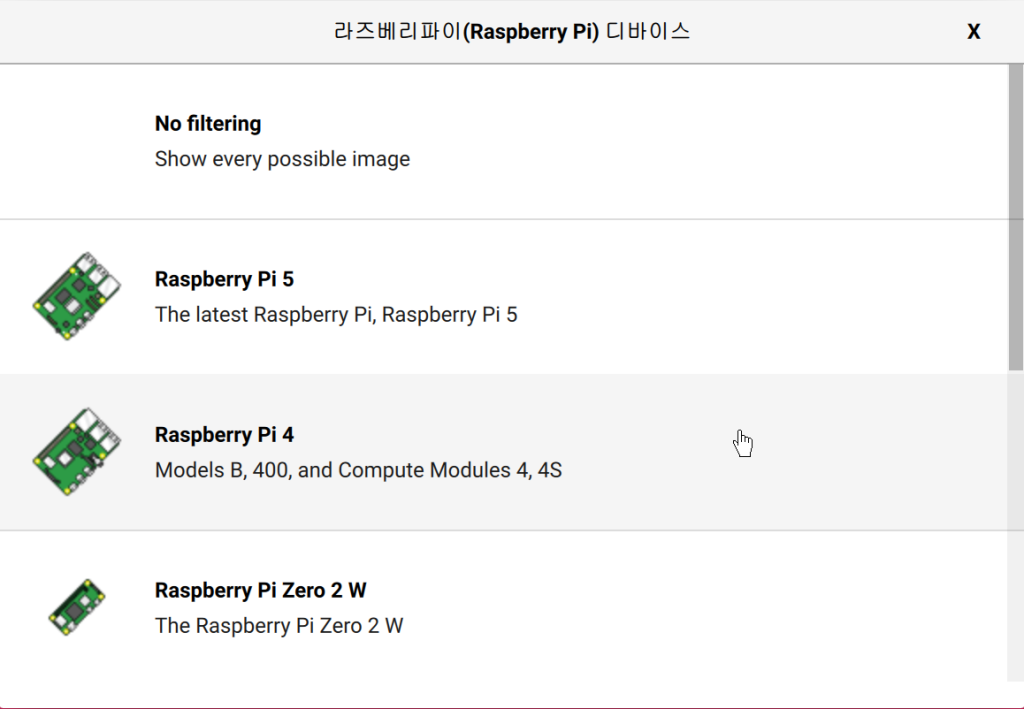
Click [Choose Device] and select the Raspberry Pi board you want to use.
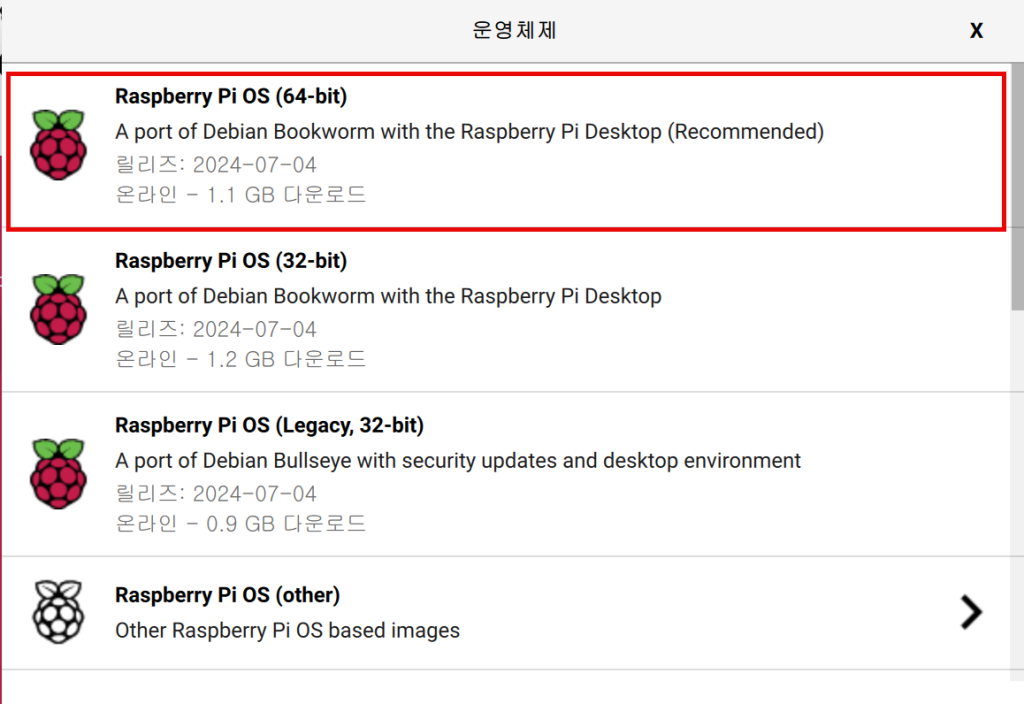
Click [Choose OS] and select the operating system you want to use.
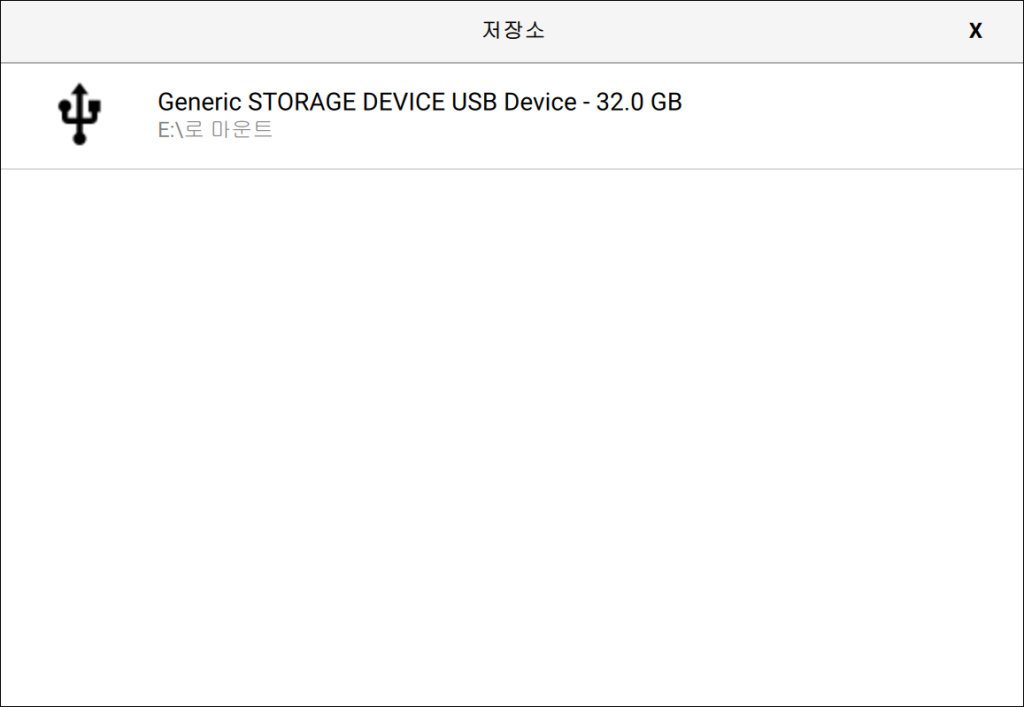
Click [Choose Storage] and select the inserted micro SD card.
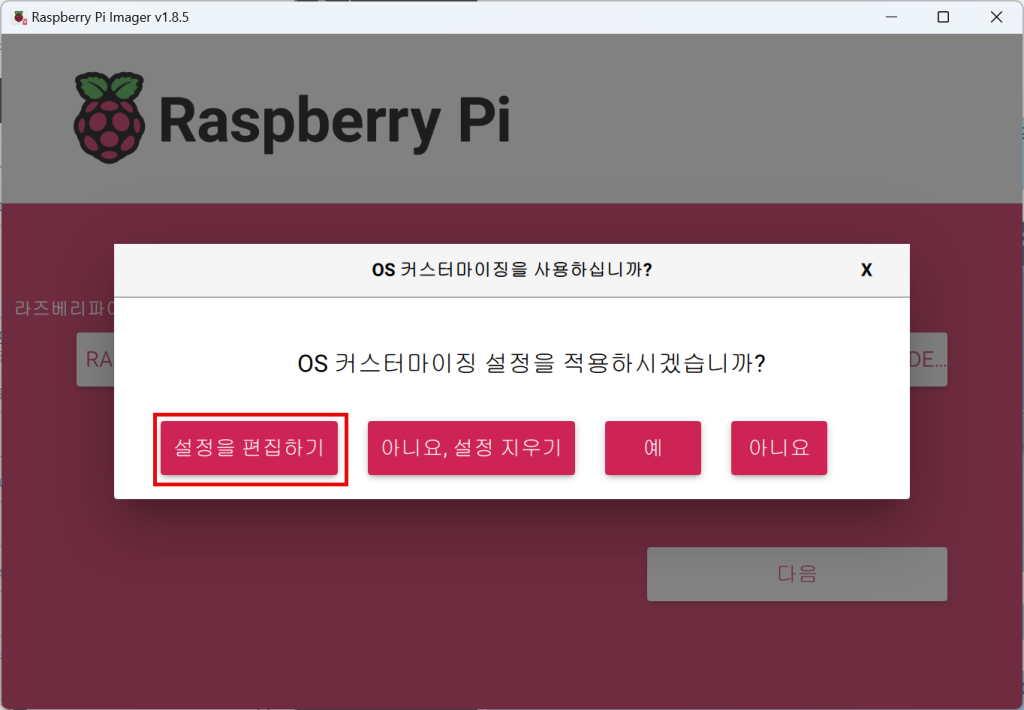
Click the [Next] button in the bottom right and when the OS customization settings screen appears, click the [Edit Settings] button.
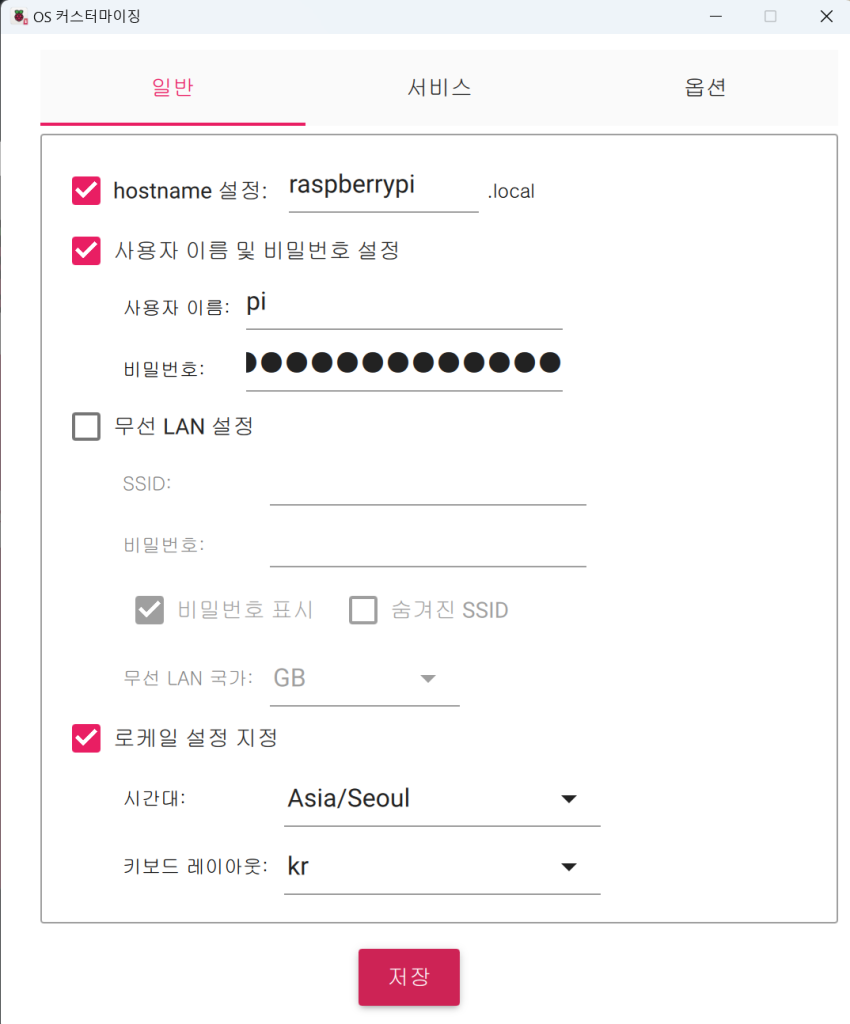
Enter the necessary settings in the [General] tab.
- Hostname setting: This is the name by which the Raspberry Pi can be identified on the network. If you don’t know the IP address, you can connect using the hostname. (Default: raspberrypi)
- Username and password setting: Account required for login. Default values are as follows:
- Username: pi
- Password: raspberry
- Wireless LAN setting: If using WiFi, enter the WiFi name (SSID) and password.
- Locale settings: Set the timezone and keyboard layout.
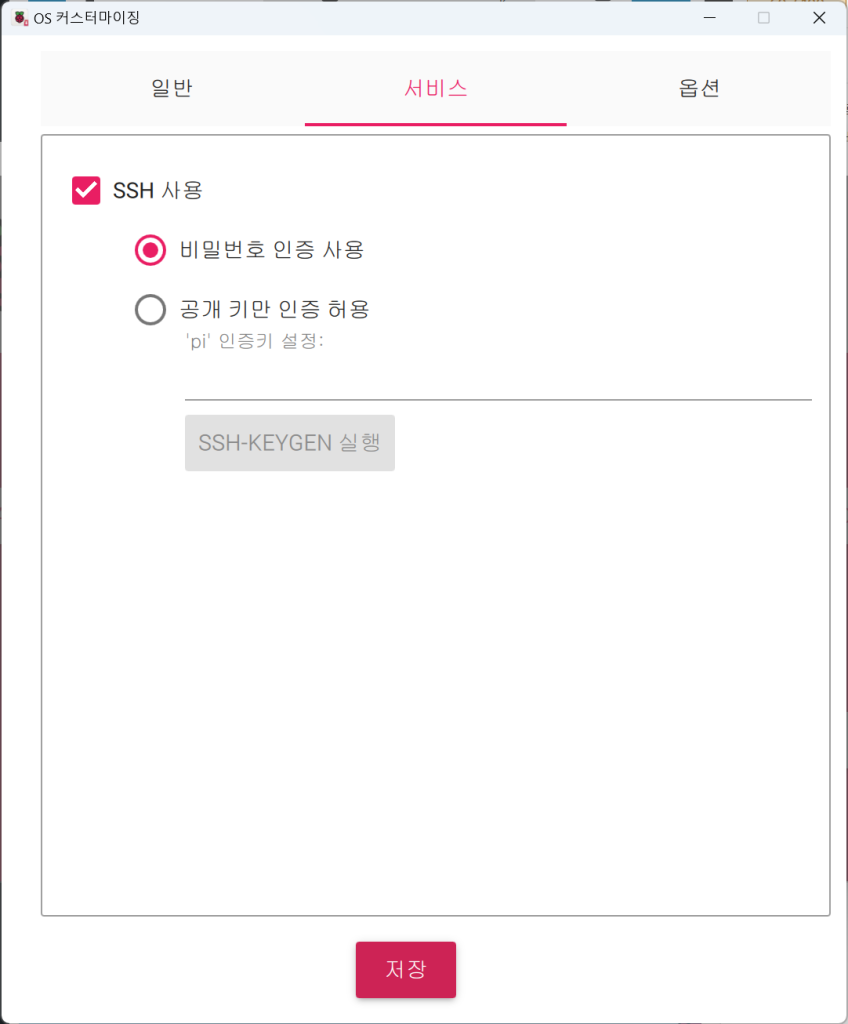
In the [Services] tab, check “Enable SSH” and “Use password authentication”. SSH is a feature that allows you to connect to the Raspberry Pi over the network and execute specific commands. It is essential for installing packages using the Grablo installer.
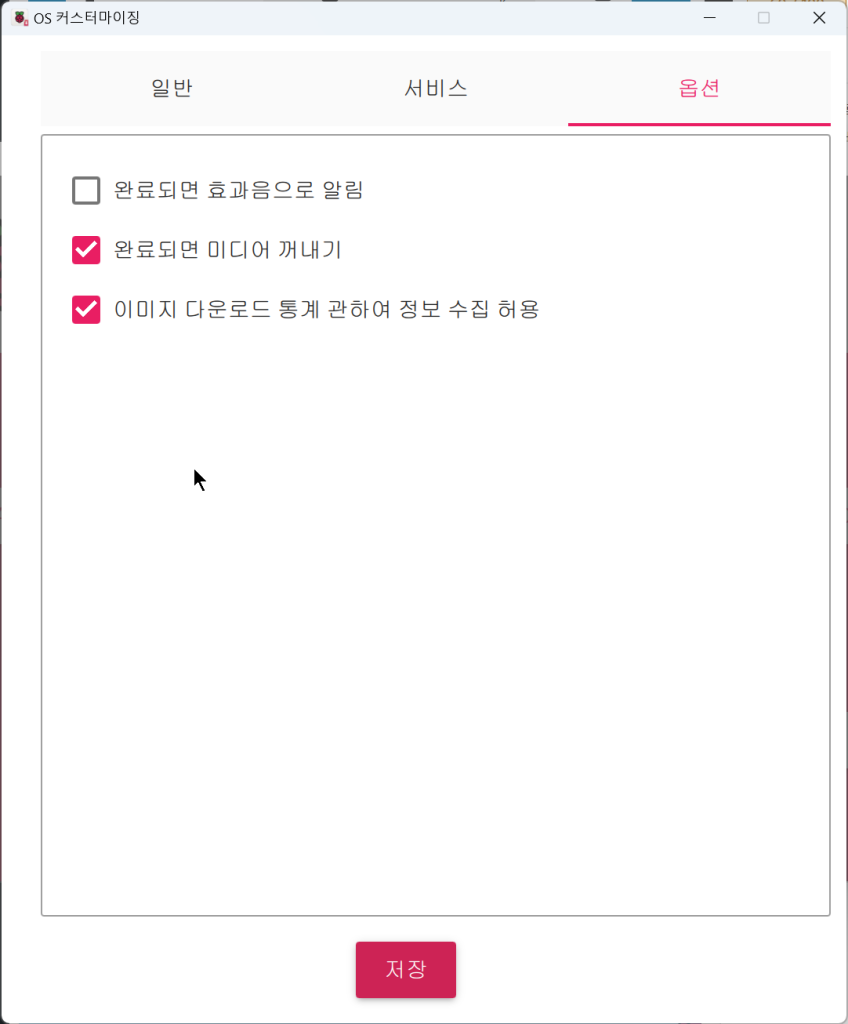
In the [Options] tab, check the necessary settings and click the [Save] button to close the window.
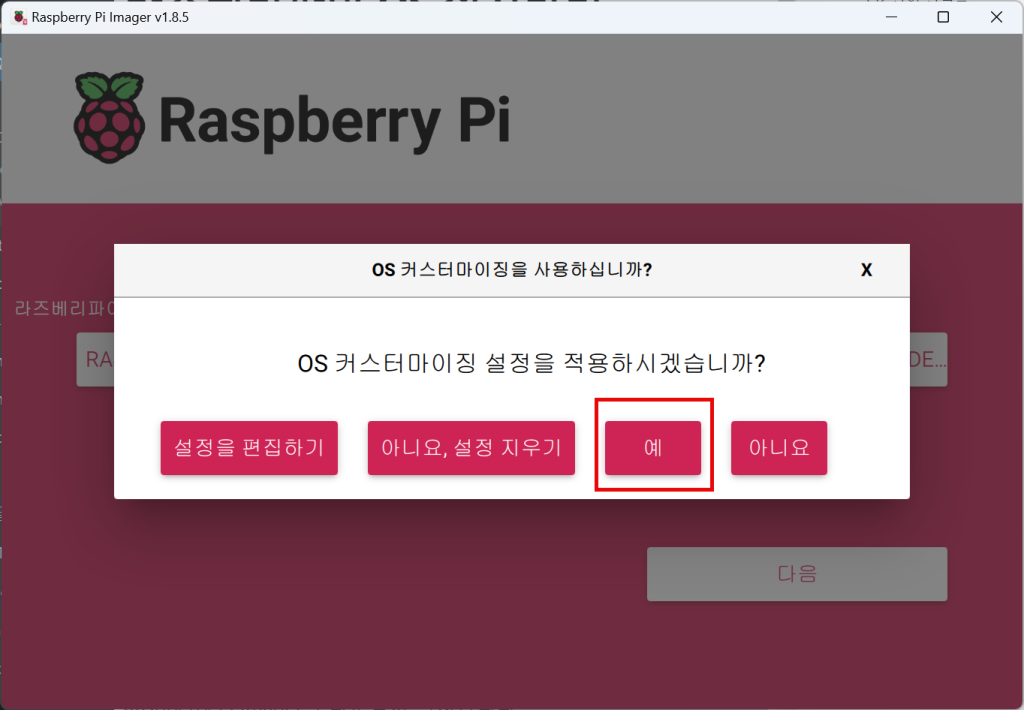
When the customization settings screen appears again, click [Yes]. Customization settings only need to be done once, and saved settings can be used from the next execution.
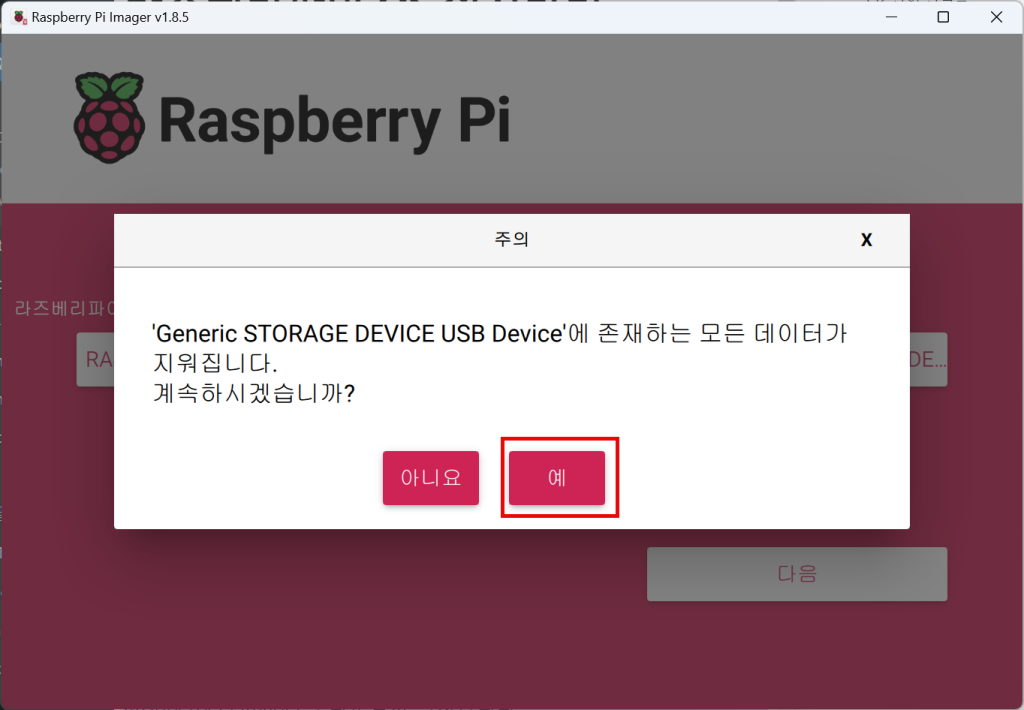
When a warning message appears, click [Yes].
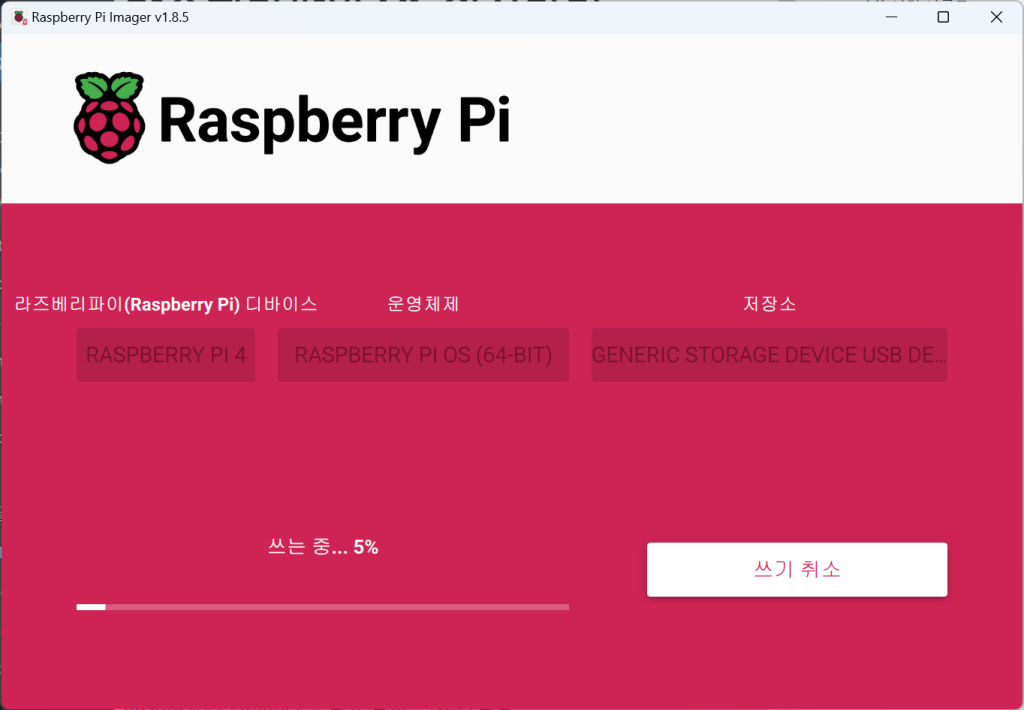
When writing is complete, remove the micro SD card, insert it into the Raspberry Pi, and boot it up.