Grablo Help Grablo Help
  • User Manual
  • Tips
  • News
  • Go to
    • Grablo Home
    • Grablo App
  • 한국어
Grablo Help Grablo Help
문의하기
Grablo Help Grablo Help
  • User Manual
  • Tips
  • News
  • Go to
    • Grablo Home
    • Grablo App
  • 한국어
loading
  1. Home
  2. Tips
  3. Database
  4. Setting Up Firebase Database
Updated on August 11, 2025

Tips

  • Folder icon closed Folder open iconBasics
    • Bits and Bytes
    • Digital Input/Output
    • Digital/Analog Signals
    • Calculating LED Resistor Values
    • Pull-up/down Resistors
    • 3.3V ↔ 5V Conversion
    • Serial Communication (UART)
    • DC Motor, Servo Motor, Stepper Motor
    • Multi Thread
    • Relay
  • Folder icon closed Folder open iconHardware
    • Raspberry Pi
      • GPIO
      • Installing Operating System
      • How to Change 1-Wire Pin
      • How to Find I2C Device Addresses
      • Raspberry Pi vs Arduino
      • Serial (UART) Port
      • Using Desktop Environment with VNC
    • Beagle Bone
      • GPIO
      • Installing Operating System
    • Jetson Nano
      • GPIO
      • Installing Operating System
    • GPIO Expander
      • FT232H/FT2232H/FT4232H
      • MCP2221A
      • NUMATO USB-GPIO
  • Folder icon closed Folder open iconLinux
    • Linux Directory Structure
    • Configuring Linux Auto Login
    • Installing Linux on Windows (Virtual Machine)
    • Installing Linux on macOS (Virtual Machine)
    • Installing SSH Server
    • Finding Your Controller’s IP Address
    • Connecting via SSH
    • Transferring Files Between PC and Controller
    • Fixing “User is not in the sudoers file” Error
  • Folder icon closed Folder open iconAudio/Video
    • Fixing Audio Stuttering and Latency Issues
    • Playing Audio Through Bluetooth Speakers
    • Selecting Instruments from SoundFont Files
    • Fixing “Failed to create new vlc instance” Error
  • Folder icon closed Folder open iconDatabase
    • Setting Up Firebase Database
  • Folder icon closed Folder open iconIoT
    • Setting Up Google Cloud TTS/STT
    • Setting Up OpenAI TTS/STT
    • Setting Up ElevenLabs TTS
    • Setting Up Telegram Bot
    • Getting Data from WeatherAPI.com

Setting Up Firebase Database

Estimated reading: 2 minutes 272 views

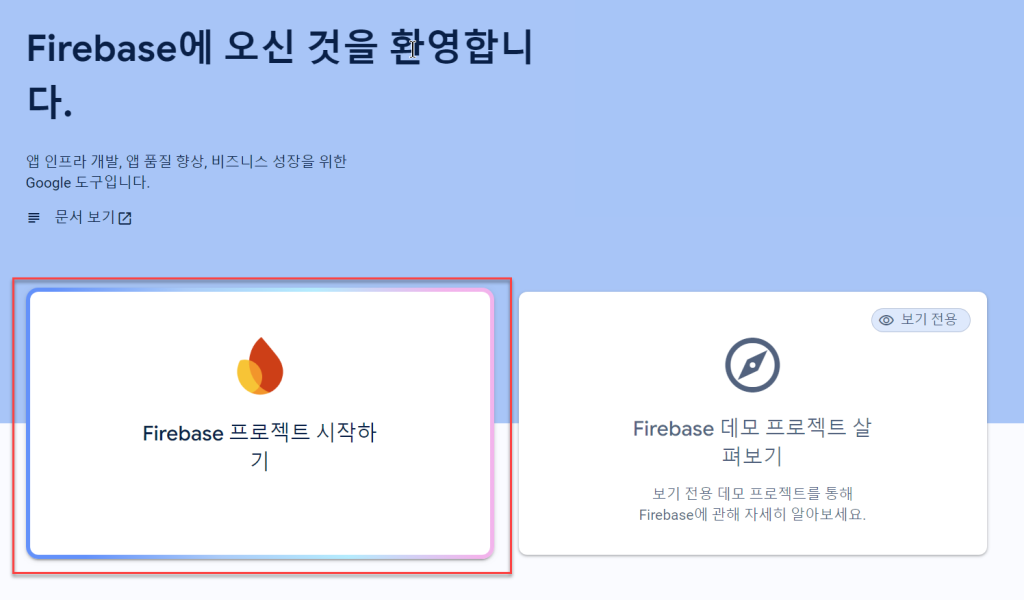
Go to https://firebase.google.com to sign up and log in.


Click [Go to console] at the top.


Click [Create a project].


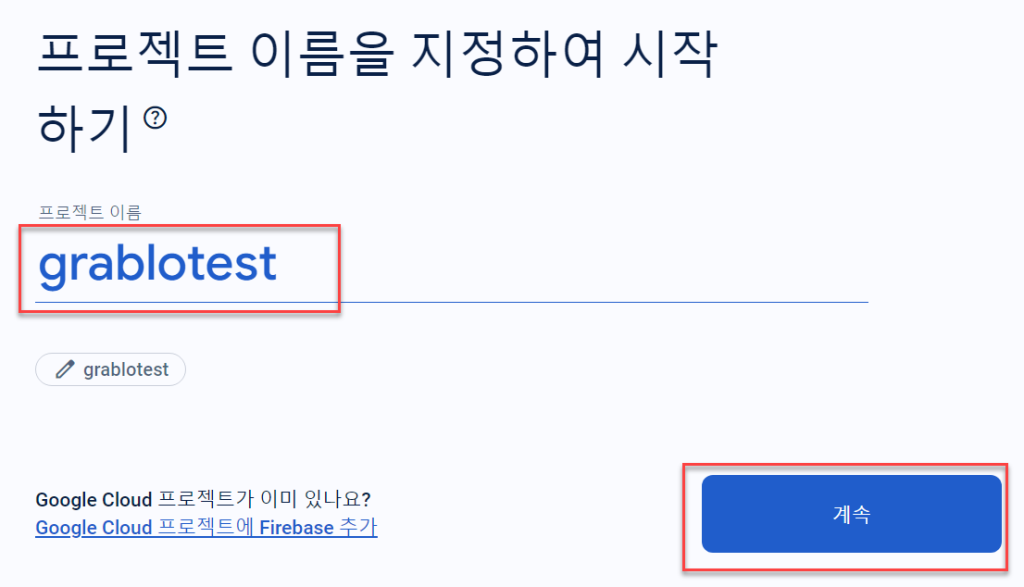
Enter your project name and click [Continue].


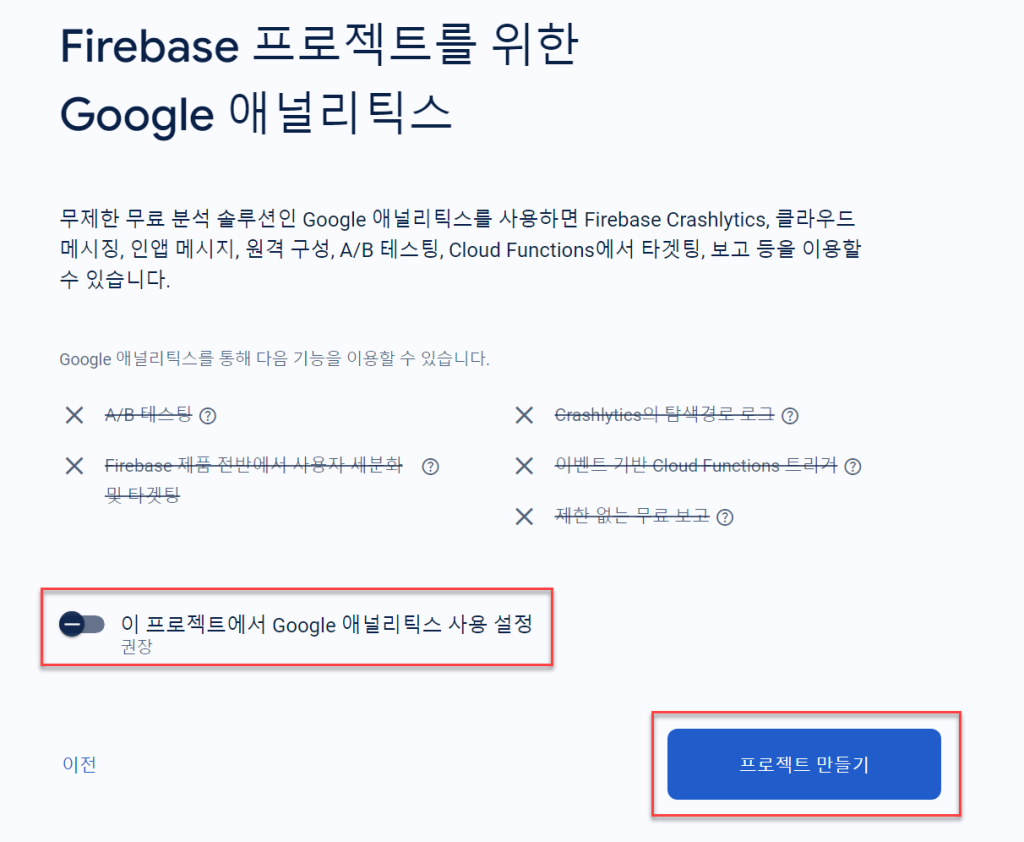
Toggle the Google Analytics switch to “Disable” and click [Create project].


Once the project is ready, click the [Continue] button to navigate to the project.


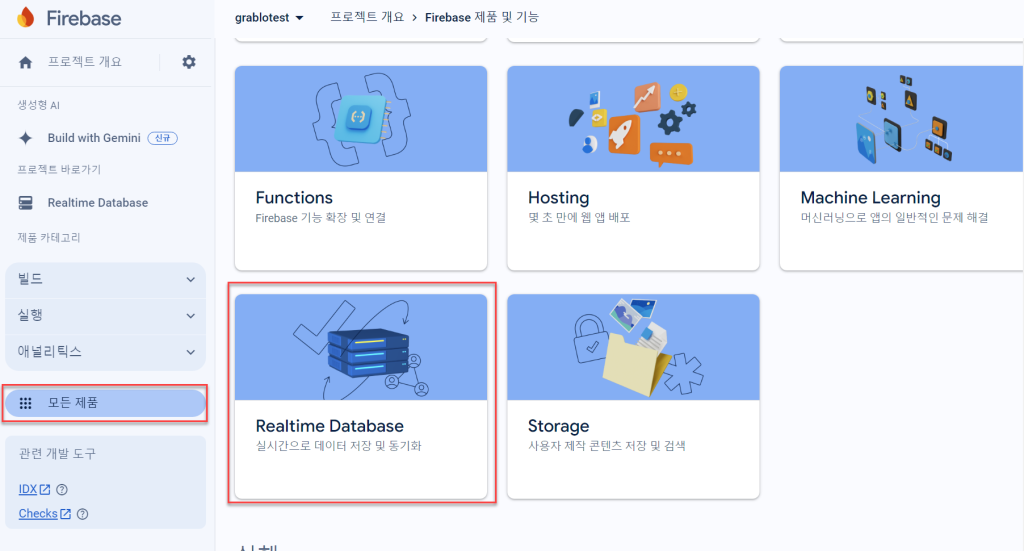
Click [All products] in the left menu and then click [Realtime Database] on the right.


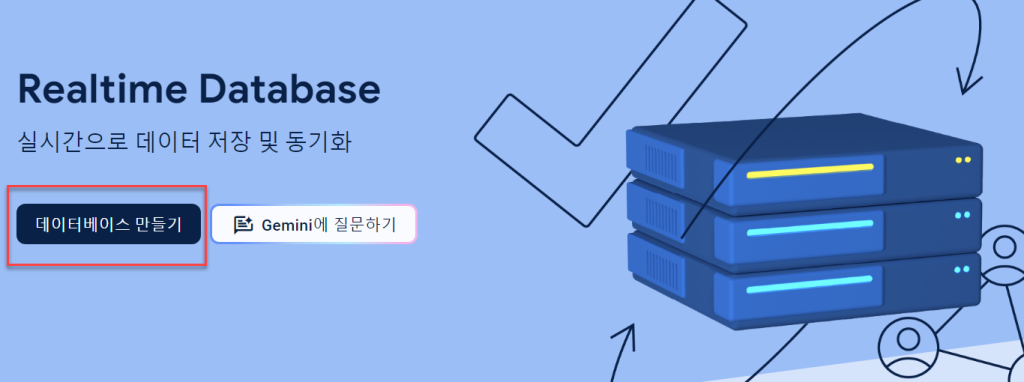
Click [Create Database].


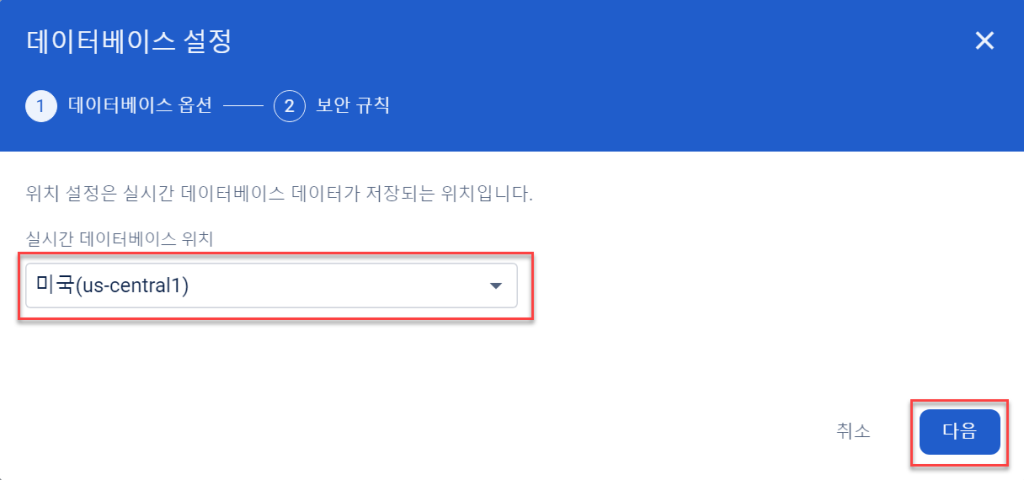
Select the database location you want to use and click [Next].


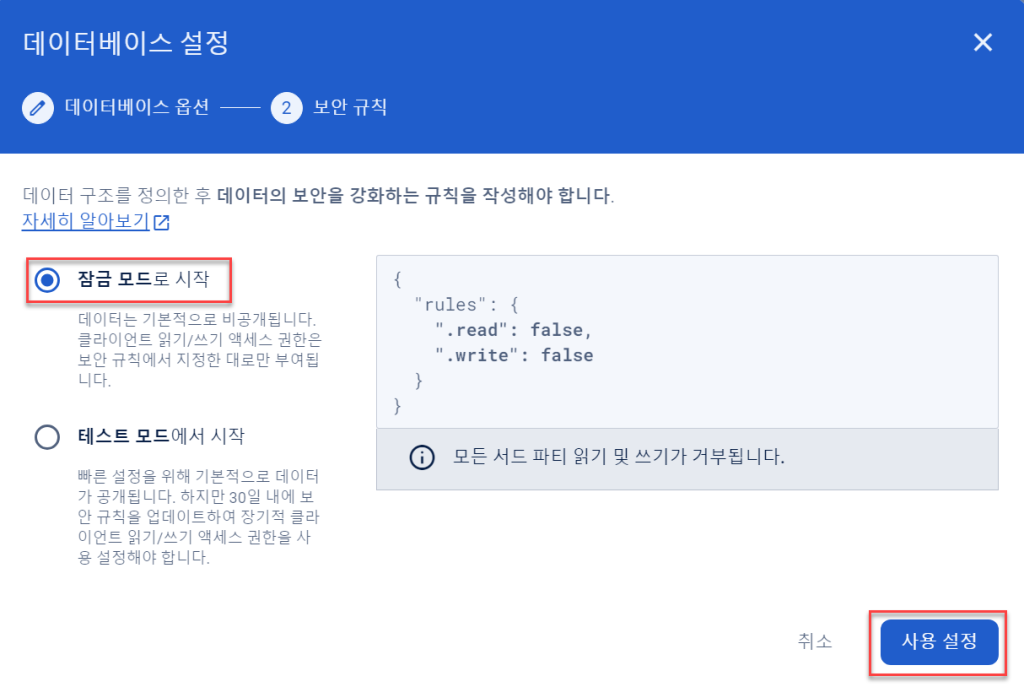
Select [Start in locked mode] and click [Enable].


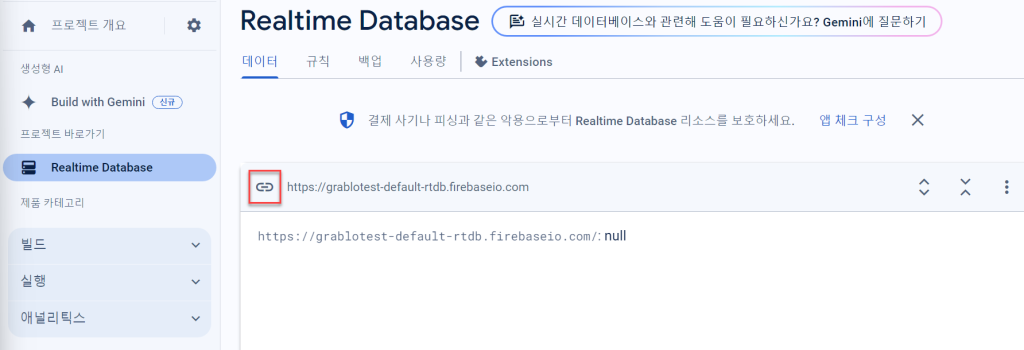
The URL displayed at the top is the address for connecting to the Firebase database. You can copy it by clicking the link button and save it for later use.


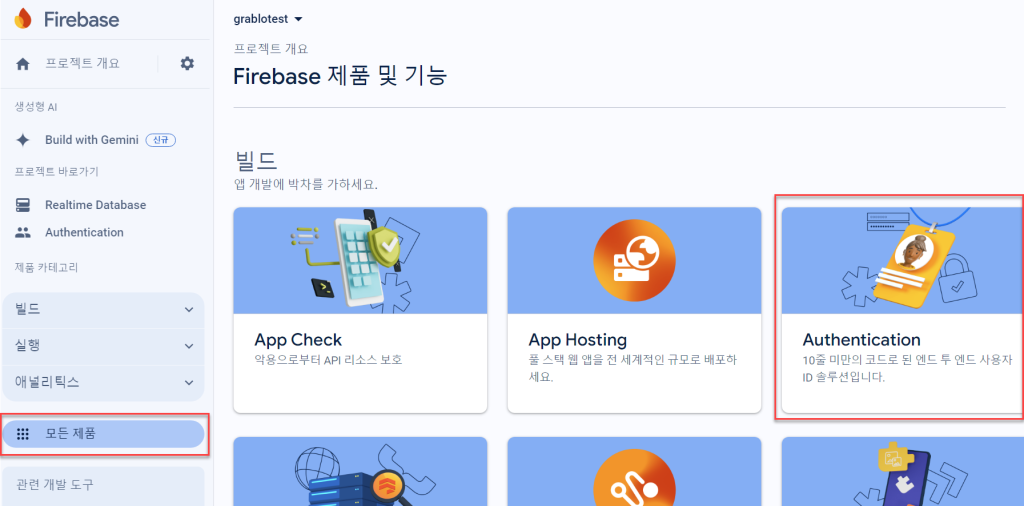
Click [All products] in the left menu and then click [Authentication].


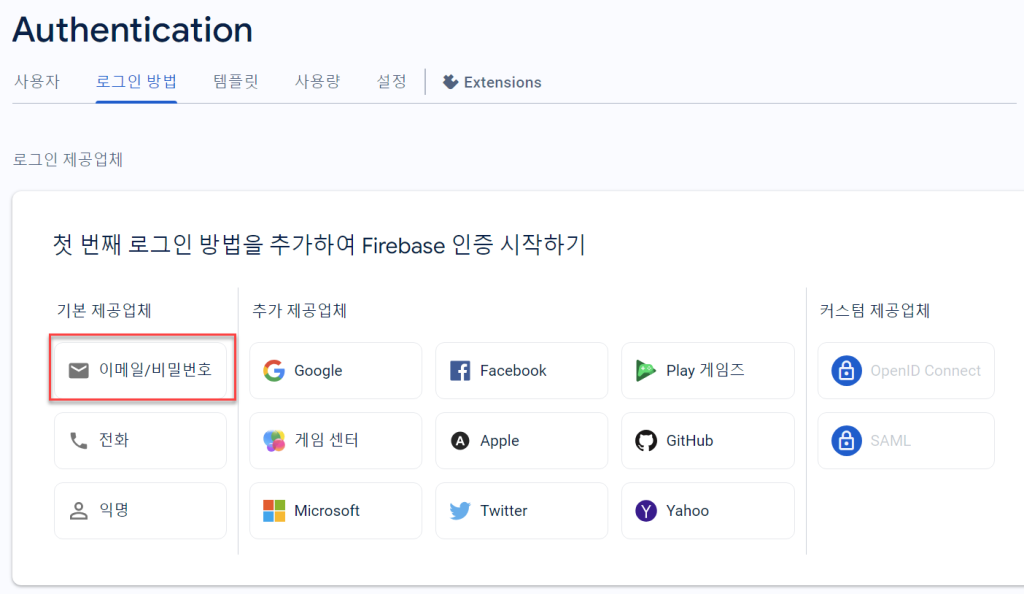
In [Sign-in method], select the login method you want to allow. If you want to allow email/password login, click the [Email/Password] button.


Click the [Enable] toggle to activate it and click the [Save] button.


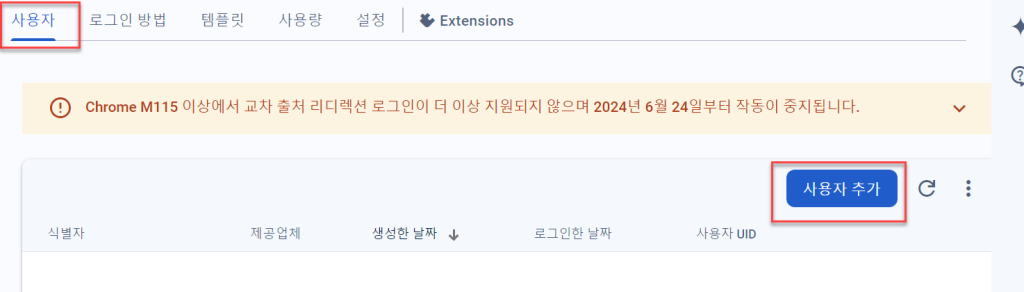
Go to the [Users] tab, click [Add user], and enter the email address and password for users you want to allow login access.

You can add multiple email/password combinations using the same method.


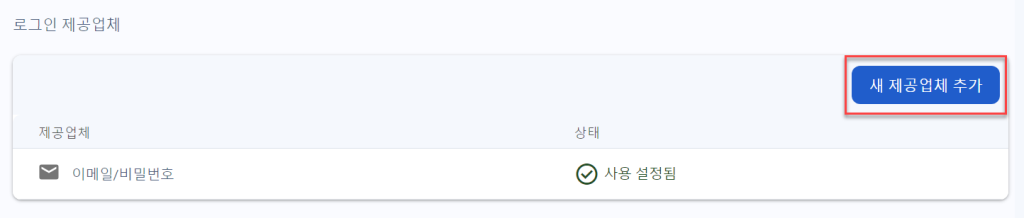
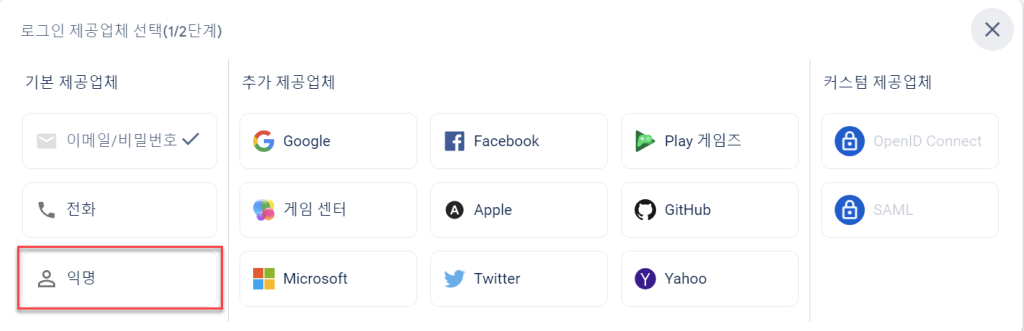
If you want to allow anonymous users (who are not logged in) to access the database, click [Add new provider] and click [Anonymous].


Click the [Enable] toggle to enable it and click [Save].


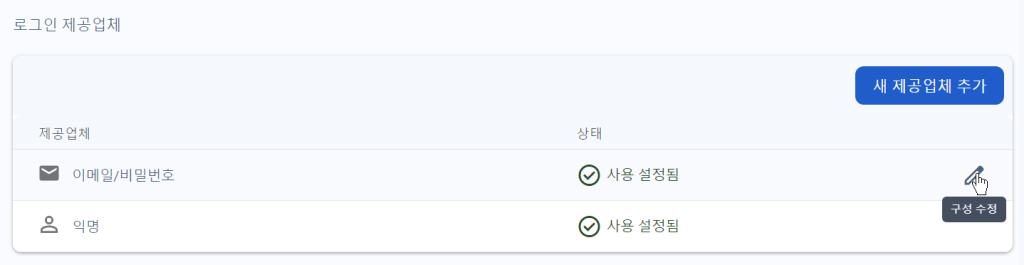
You can change the login method at any time by clicking the [Edit configuration] button on the right.


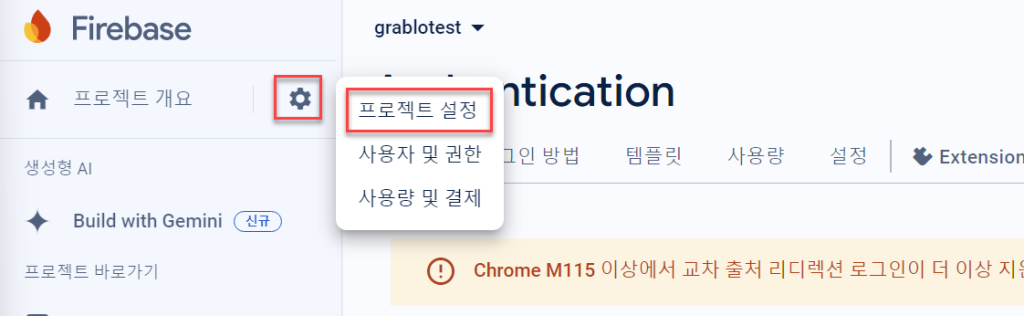
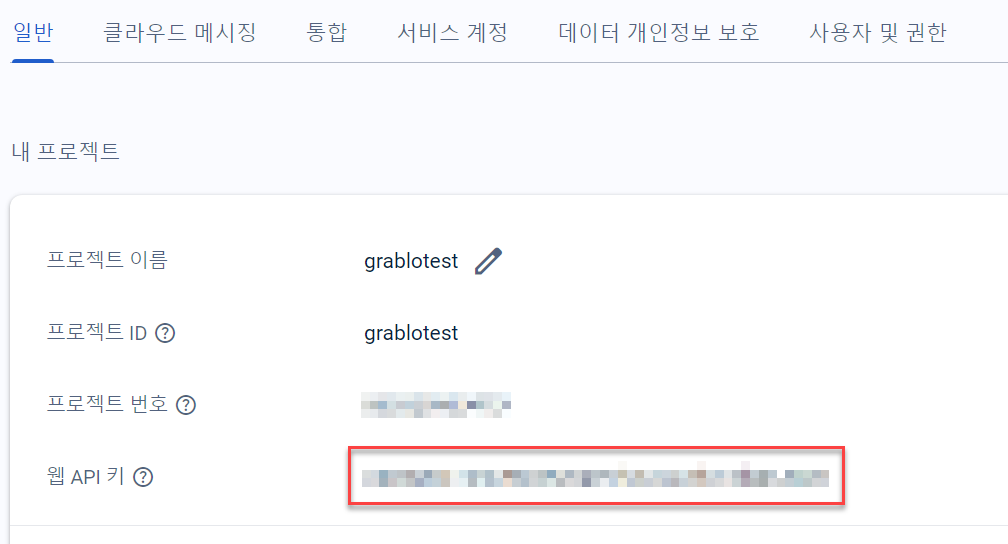
Click the gear icon next to “Project Overview” in the left menu and select [Project settings].


In the [General] tab of Project settings, copy the Web API key and save it separately. The Web API key is required when clients connect to the Firebase database server.


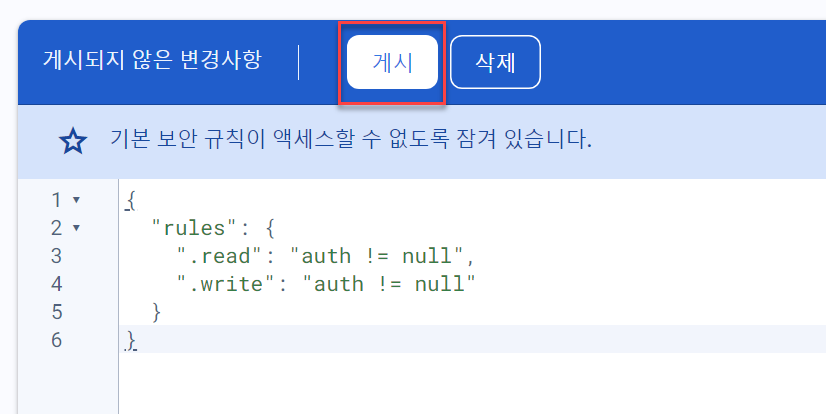
Since we created the database in “locked mode” earlier, no one, including administrators, can access the database. We need to modify the security rules to allow only specified users to access it. Click [Realtime Database] in the left menu and then click the [Rules] tab.


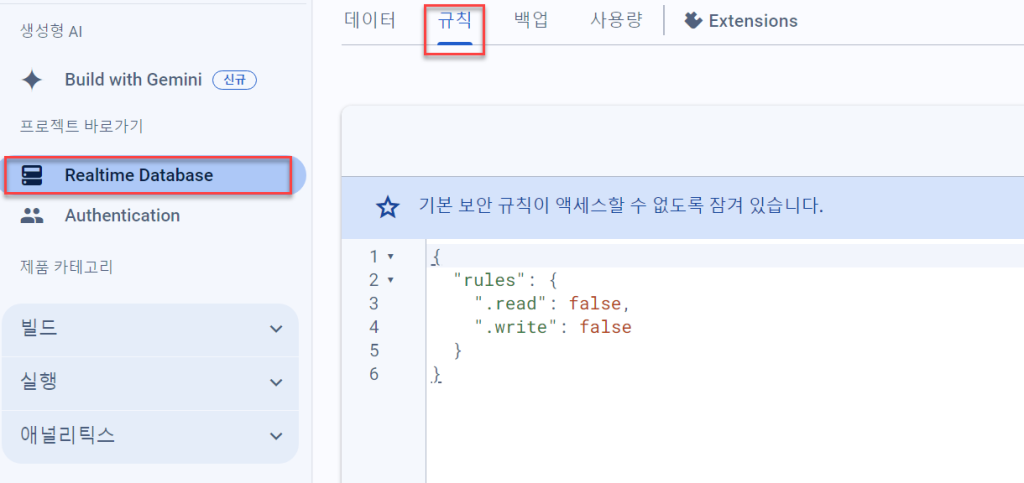
Delete the existing content and copy and paste the following:

{
  "rules": {
    ".read": "auth != null",
    ".write": "auth != null"
  }
}


Click the [Publish] button to apply the changes. Now only the users configured in the sign-in method (email/password or anonymous) can access the database.

찾으시는 내용이 없나요? 문의하기

문의하기

공유하기

Setting Up Firebase Database

Or copy link

Clipboard Icon
콘탠츠

ㅤ

Grablo Inc.
support@grablo.co

Site Links

  • Grablo Home
  • Grablo App

이 사이트의 모든 컨텐츠는 저작권법에 보호받는 저작물로서, 무단으로 복제, 배포하는 경우에는 저작권법에 의하여 처벌을 받을 수 있습니다. Copyright 2024 grablo.co. All Rights Reserved.