
Installing Operating System
Image Download
When you purchase a BeagleBone board, an operating system is already installed on the built-in eMMC. However, if the installed operating system is an older version than Debian 11.x (Bullseye) or a distribution without a Linux graphical interface, you need to upgrade the operating system.
Visit the BeagleBone software images page.

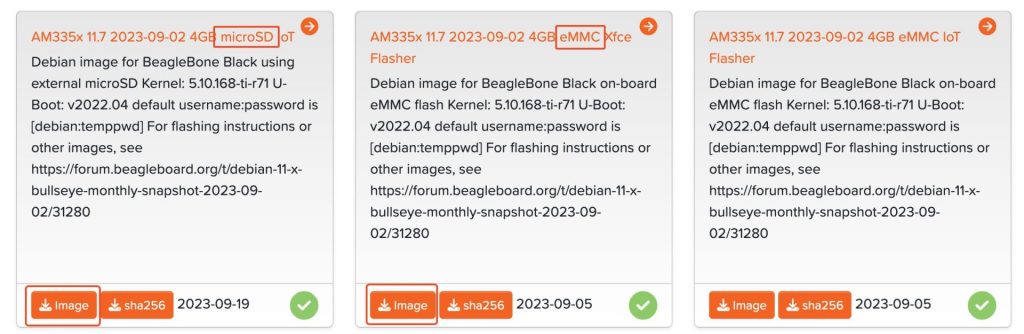
Select the type of BeagleBone board you want to use, and the available operating systems will be displayed.

Operating systems are broadly categorized into microSD card versions and eMMC versions. BeagleBone boards have built-in eMMC memory, allowing the operating system to run using eMMC memory without any external storage devices. However, to install an operating system on eMMC, you need to insert a microSD card at least once initially.
Download either the microSD card or eMMC image depending on the storage device you want to install the operating system on.
Installing on SD Card
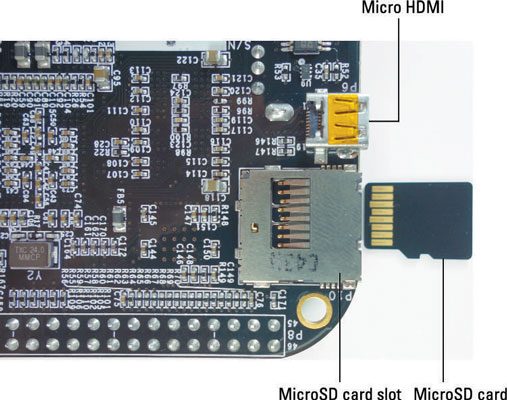
Insert the microSD card into your PC. If there’s no micro SD slot, use a USB-SD card adapter.

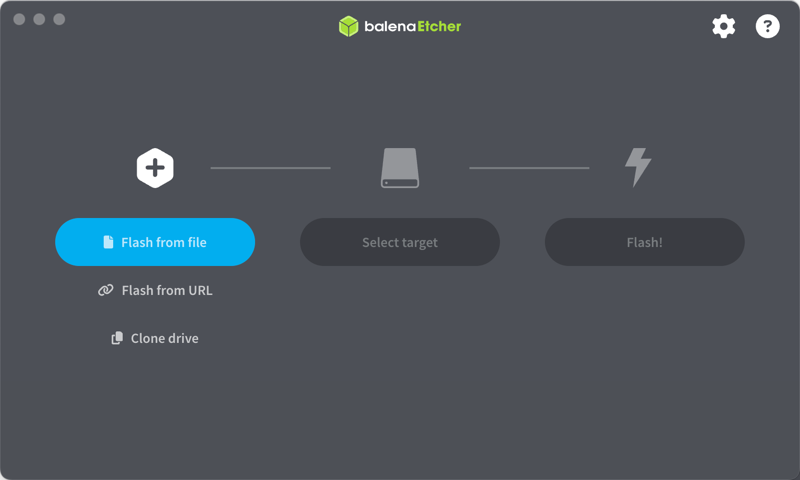
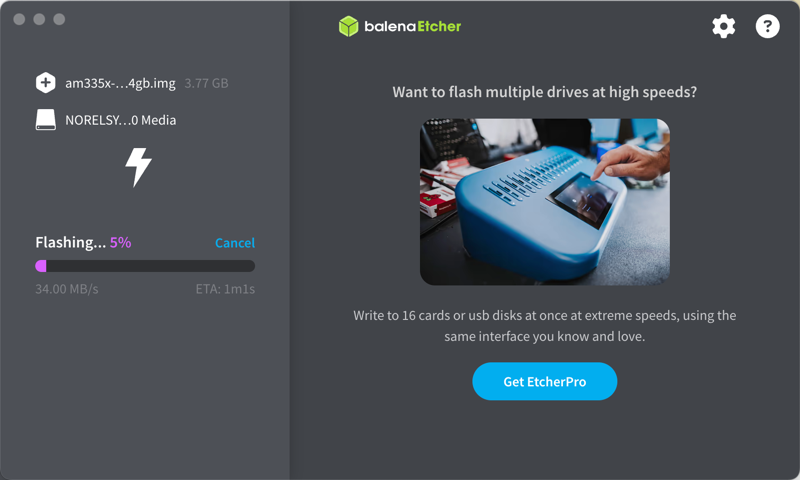
To write the downloaded image to the microSD card, use programs like Rufus or Etcher. Download and install Etcher from here.

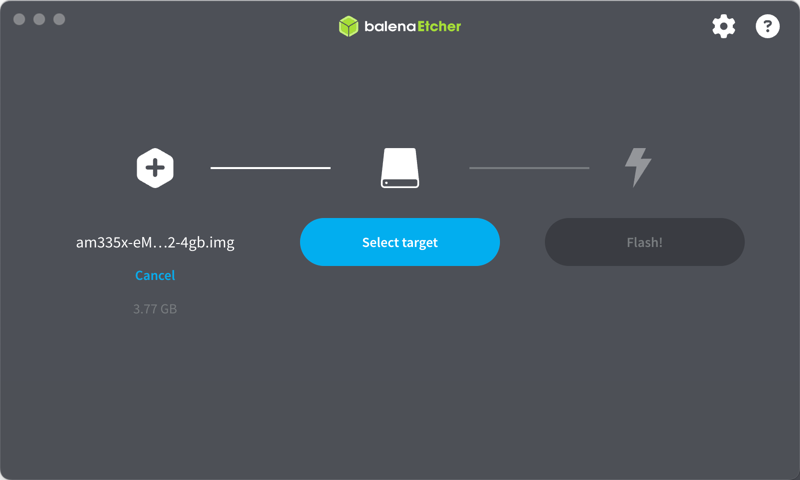
Run Etcher, click “Flash from file”, and select the downloaded image.
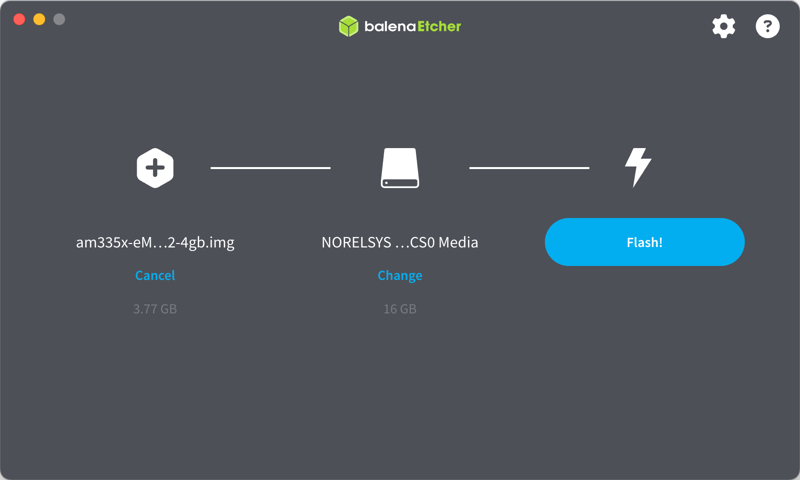
Click “Select target” and choose the inserted microSD card.
Click “Flash” to install the operating system on the microSD card.
Booting
When installation is complete, insert the microSD card into the BeagleBone board and connect power.
If it’s an eMMC memory image, it will automatically copy the operating system to eMMC memory. This takes about 5 minutes, and the BeagleBone board’s LEDs will blink in sequence. After copying is complete, remove the microSD card and reboot the BeagleBone board to boot from the built-in eMMC memory.
If it’s a microSD card image, it will boot directly from the microSD card without copying to eMMC memory.
