
Serial (UART) Port
UART
UART stands for Universal Asynchronous Receiver/Transmitter, a simple 2-wire protocol for exchanging serial data. It’s commonly referred to as serial communication. For detailed information about UART, please refer here.
Raspberry Pi has two types of UART:
- Full UART (PL011 UART)
- Mini UART
Mini UART has lower performance and some features are excluded compared to Full UART.
Primary / Secondary
Below shows the types of Primary/Secondary UART according to Raspberry Pi models.
Hardware UART pins GPIO 14, 15 refer to Primary UART.
| Raspberry Pi Model | Primary UART | Secondary UART |
|---|---|---|
| Raspberry Pi Zero | Full UART (UART0) | Mini UART (UART1) |
| Raspberry Pi Zero W | Mini UART (UART1) | Full UART (UART0, for Bluetooth) ¹ |
| Raspberry Pi 1 | Full UART (UART0) | Mini UART (UART1) |
| Raspberry Pi 2 | Full UART (UART0) | Mini UART (UART1) |
| Raspberry Pi 3 | Mini UART (UART1) ² | Full UART (UART0, for Bluetooth) ¹ |
| Raspberry Pi 4 ³ | Mini UART (UART1) | Full UART (UART0, for Bluetooth) ¹ |
² For Raspberry Pi 3, GPU frequency scaling can cause issues with Mini UART communication.
³ Raspberry Pi 4 has 4 hidden Full UARTs (UART2 ~ UART5). You can add UART ports by changing settings.
Devices
UART is recognized as devices in Raspberry Pi OS (Linux) with the following device names:
| UART | Device Name |
|---|---|
| Full UART (UART 0) | /dev/ttyAMA0 |
| Mini UART (UART 1) | /dev/ttyS0 |
Since the Primary UART type differs by Raspberry Pi model, you can also use symbolic link names as follows:
| UART | Device Name |
|---|---|
| Primary | /dev/serial0 |
| Secondary | /dev/serial1 |
Using Full UART instead of Mini UART (Raspberry Pi 3)
On Raspberry Pi 3, GPU frequency scaling can cause issues with serial communication using Mini UART (UART 1). You can change the settings to use Full UART (UART 0) for serial communication through the following configuration.
Open the Raspberry Pi terminal or connect via SSH and enter the following:
sudo nano /boot/config.txtAdd the following content at the end of the file:
dtoverlay=miniuart-btPress Ctrl + O -> Enter -> Ctrl + X to save and exit the editor.
Reboot the Raspberry Pi with the following command:
sudo rebootNow serial communication uses Full UART (UART 0), enabling stable communication. However, Bluetooth communication is no longer available.
Using Hidden UARTs (Raspberry Pi 4)
Raspberry Pi 4 has 4 hidden Full UARTs that can be enabled by changing settings. Open the Raspberry Pi terminal and enter the following:
sudo nano /boot/config.txtAt the end of the file, add the hidden UARTs you want to use. Here we’ll add all 4:
dtoverlay=uart2

dtoverlay=uart3

dtoverlay=uart4

dtoverlay=uart5
The GPIO pins for additional UART ports are as follows:
| UART | TXD | RXD |
|---|---|---|
| UART 2 | GPIO 0 | GPIO 1 |
| UART 3 | GPIO 4 | GPIO 5 |
| UART 4 | GPIO 8 | GPIO 9 |
| UART 5 | GPIO 12 | GPIO 13 |
You can also directly specify the GPIO numbers for TX/RX pins as follows:
dtoverlay=uart2,txd2_pin=16,rxd2_pin=17Press Ctrl + O -> Enter -> Ctrl + X to save and exit the editor.
Reboot the Raspberry Pi with the following command:
sudo rebootEnter the following to confirm that Full UART type ttyAMA1~ttyAMA4 have been added:
dmesg | grep ttyUSB-TTL Converter
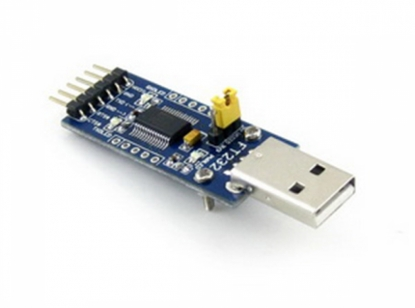
You can add UART ports using a USB-TTL converter. Commonly supported chipsets include:
- FTDI FT232RL
- CP2102
- PL2303
- CH340
After connecting the USB-TTL converter to the Raspberry Pi, enter the following in the terminal:
